APPLIES TO: Admins
Last Updated: 1/7/26
How to Connect your Brother Printer to Wifi
-
If you've purchased your new brother printer please follow the steps below, if you have not you can purchase a new one here and labels here
- Power on your Brother Printer and select Menu
- Using the down arrow scroll down and select WLAN
- Scroll down and select Infra Manual Setting
- Select your Wifi Network
- Enter your Wifi Password
- Your printer is now setup and able to be used to print QR Code or Labels
How to Set Up Print Preferences
-
When you're ready to print labels or a QR code you will want to configure your print preferences to ensure they print correctly!
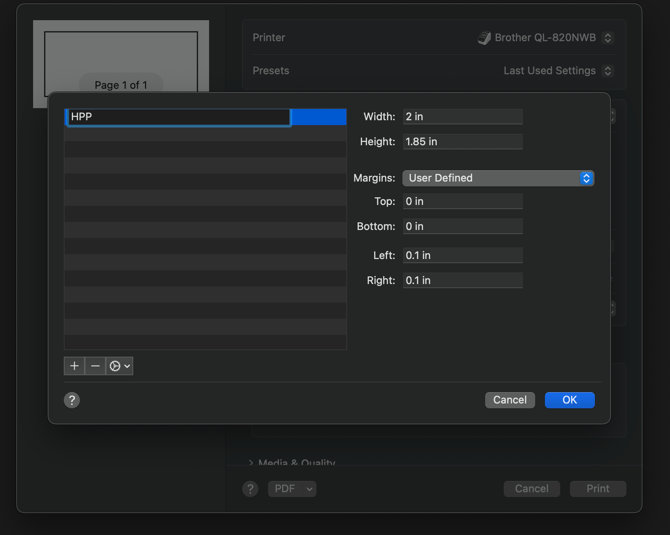
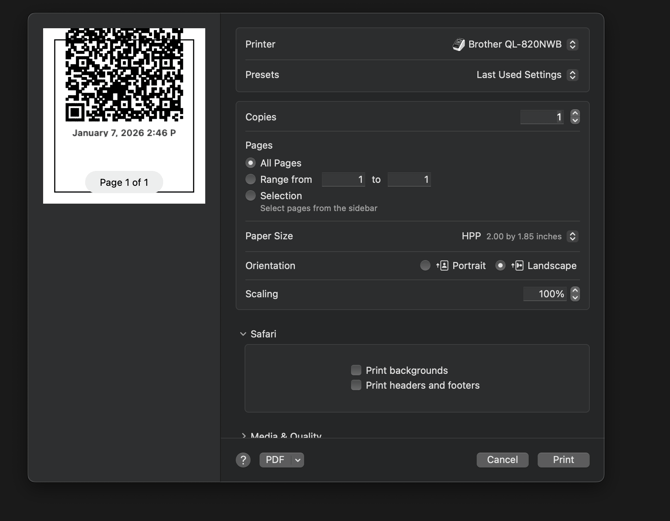
- QR Preferences
- Printer: Brother
- Paper Size: Select Manage Custom Sizes
- Create a new size
- Width: 2in
- Height: 1.85in
- Note: You can name this custom size for easy future use
-
- Orientation: Landscape
- Note: the preview will look incorrect but the QR code will print correctly
- Orientation: Landscape
-
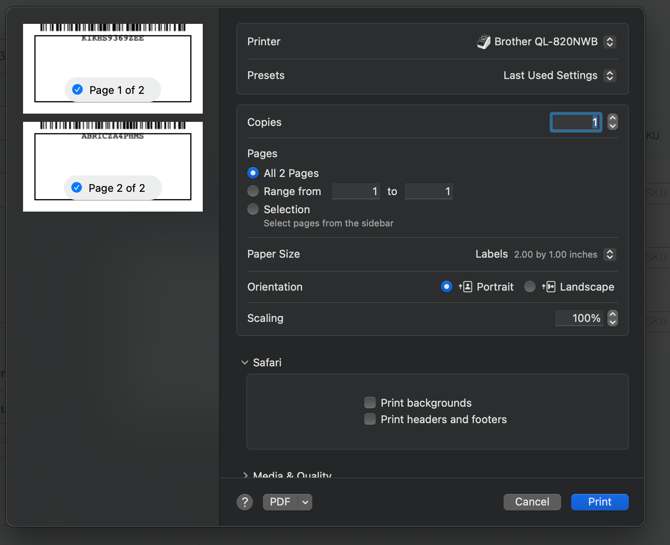
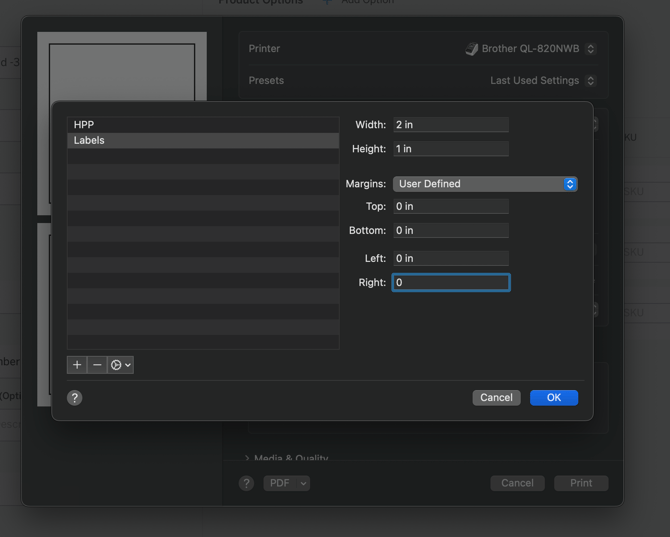
Label Preferences
- Printer: Brother
- Paper Size: Select Manage Custom Sizes
- Create a new size
- Width: 2in
- Height: 1in
- Note: You can name this custom size for easy future use
-
- Landscape: Portrait
- Note: the preview will look incorrect but the QR code will print correctly
- Note: the preview will look incorrect but the QR code will print correctly
- Landscape: Portrait